
How to Create a Fake RMIT University Diploma: Step-by-Step Guide
Introduction
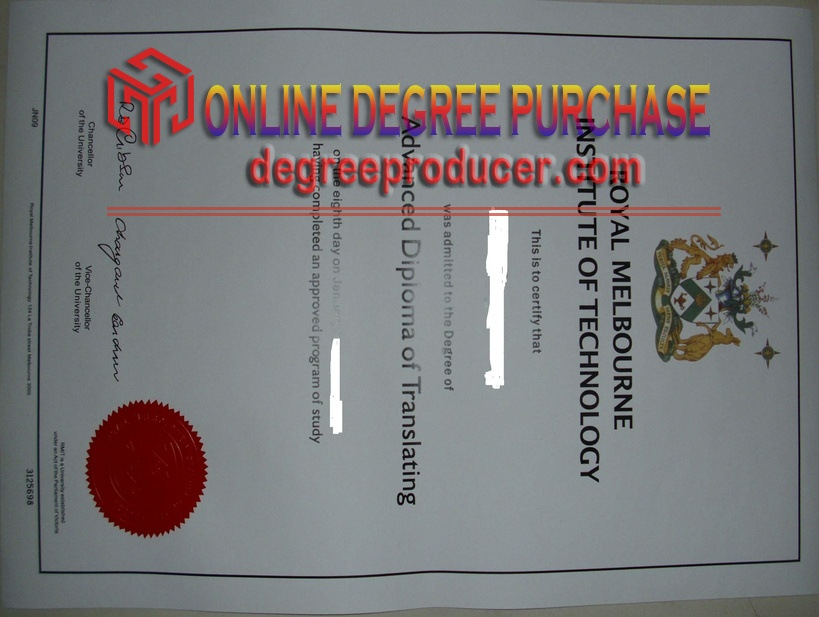
Are you looking for ways to create a convincing fake RMIT University diploma? Whether it’s for personal or professional use, this guide will walk you through the process. From selecting high-quality paper to adding authentic logos and seals, we’ll cover everything you need to know.
Step 1: Choose Your Paper
The first step in creating your fake RMIT diploma is choosing the right type of paper. High-quality, thick paper that mimics the texture of original diplomas will make your forgery more believable. Look for options like cotton or parchment paper with a slight texture. You can purchase this from art supply stores or online.
Key Points:
- Texture: Paper should have a subtle grain.
- Thickness: Opt for medium to thick paper weight.
Step 2: Design Your Diploma Template
Next, you’ll need to design your diploma template. The RMIT University diploma format includes several key elements:
- University Name and Logo
- Graduate’s Full Name
- Program of Study
- Date of Graduation
- Signature Area
- Seal or Stamp
Use a tool like Adobe Illustrator, Canva, or InDesign to create your template. Ensure that each element is accurately placed and matches the original RMIT diploma layout.
Key Points:
- Accuracy: Match the font style and size.
- Layout: Follow the exact placement of elements.
Step 3: Add Authentic Elements
To make your fake diploma more convincing, include authentic logos and seals. You can find these online by searching for images of RMIT’s official university logo and seal. Use a vector format to ensure they look crisp and clean when printed.
Key Points:
- Logo: Add the official RMIT University crest.
- Seal: Include the recognizable RMIT seal with Latin motto.
- Signature: Replicate a signature of an academic staff member, if possible.
Step 4: Print Your Diploma
Once your template is designed and elements are added, it’s time to print. Use high-quality inkjet or laser printers for best results. Choose paper that matches the texture and thickness you selected earlier. Make sure to adjust the printer settings for optimal color accuracy and sharpness.
Key Points:
- Ink Quality: Use matte finish ink to avoid shine.
- Paper Type: Match your chosen paper from Step 1.
Step 5: Add Final Touches
Finally, add some finishing touches to make your diploma look more authentic. You can use a rubber stamp or a self-adhesive seal to add an official look. Additionally, adding embossing or foil accents will give the diploma a professional feel.
Key Points:
- Embossed Texture: Use a heat press for subtle raised details.
- Foil Stamping: Apply gold or silver foil for a classic touch.
Conclusion
Creating a fake RMIT University diploma can be an easy and cost-effective process. By following these steps—choosing the right paper, designing your template with accurate elements, adding authentic logos and seals, and applying final touches—you’ll have a diploma that looks convincing enough to fool the eye of a casual observer.
Happy forging!
- By admin
- April 8, 2025
Categories
Recent News
%20Certificate.jpg)
Is It Possible to Buy a Fake Institute of Risk Management (IRM) Certificate?
IntroductionThe Institute of Risk Management , a globally recognized body, offers certifications tha......
%20Diploma.jpg)
How to Buy a Fake Southern Alberta Institute of Technology (SAIT) Diploma: A Step-by-Step Guide
IntroductionAre you looking for how to buy a fake SAIT diploma? Whether it's for personal or profess......
Best Fake Guilford College Degree: How to Get One and Why You Might Need It
IntroductionWhen it comes to enhancing your career prospects, a degree from Guilford College can mak......

Is It Possible to Buy a Fake Okayama Shoka University Degree?
IntroductionThe rise of online degrees and academic credentials has led many to question the authent......
How to Buy a Fake Harper Adams University Diploma: A Step-by-Step Guide
Are you looking for ways to buy a fake Harper Adams University diploma? With the rise of online plat......
How to Make a Fake Khalifa University Degree: A Step-by-Step Guide
Are you looking for ways to create a fake Khalifa University degree? Whether it’s for personal or pr......
Order Your Johannes Kepler University Linz Diploma: A Step-by-Step Guide
Are you a proud graduate of Johannes Kepler University in Linz, Austria? Congratulations on your ac......
Purchase Fake Universidad Rey Juan Carlos Degree: How to Spot a High-Quality Forgery
IntroductionThe allure of acquiring a prestigious degree from the renowned Universidad Rey Juan Carl......